Back to Adinkra Cookie Cutters
Creality Slicer Guide
Steps to go from STL file to final 3D print
- Download STL of Adinkra symbol & Creality Slicer (download)
- Once Creality Slicer is opened, select Creality Sermoon D1 from the menu of printers (only applicable if first time installation)
- Import STL file using folder icon in the top left corner of the screen
-
Go to the top right corner of the screen, where it says “Standard Quality” and click on it and a box
will appear. From here, click on “Custom” and search “Thin Walls” in the search box near the
top. Check the setting enabling thin walls.


- Once the file is imported and it is visible in the window on screen, press the slice button in the bottom right corner
- Once the model has sliced, press “Save as Creality Format” in the same location as the Slice button was
-
Save the .gcode file on the SD card used with the 3D Printer
- Insert SD card into printer, on the side of the main screen module (note, the label should be facing down)
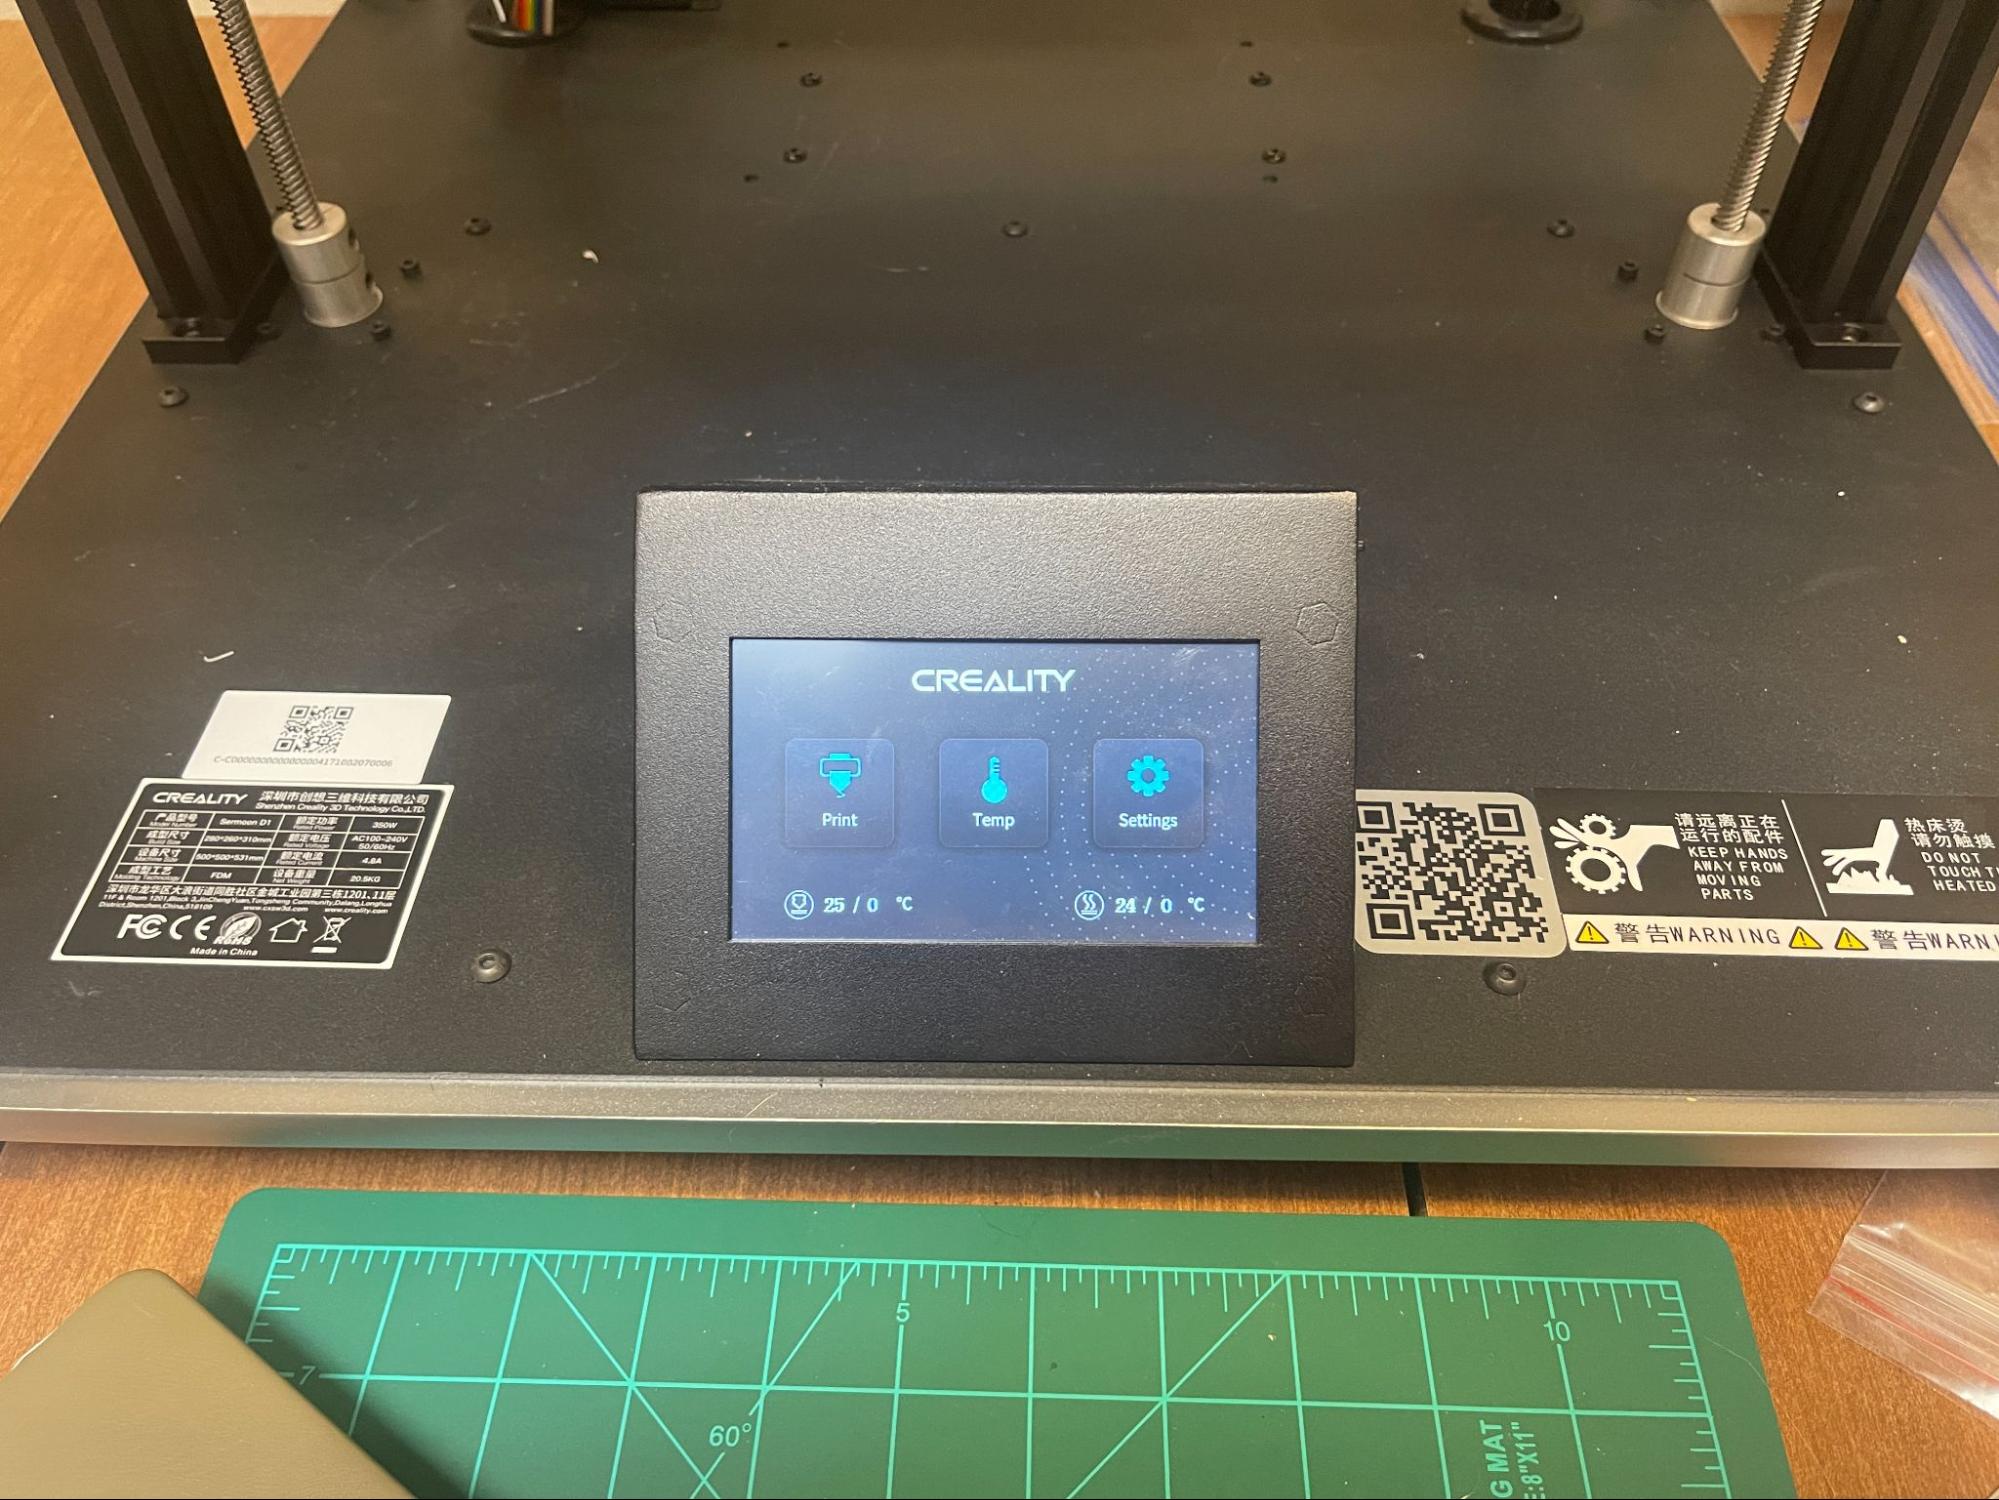
- Turn on and plug in the printer
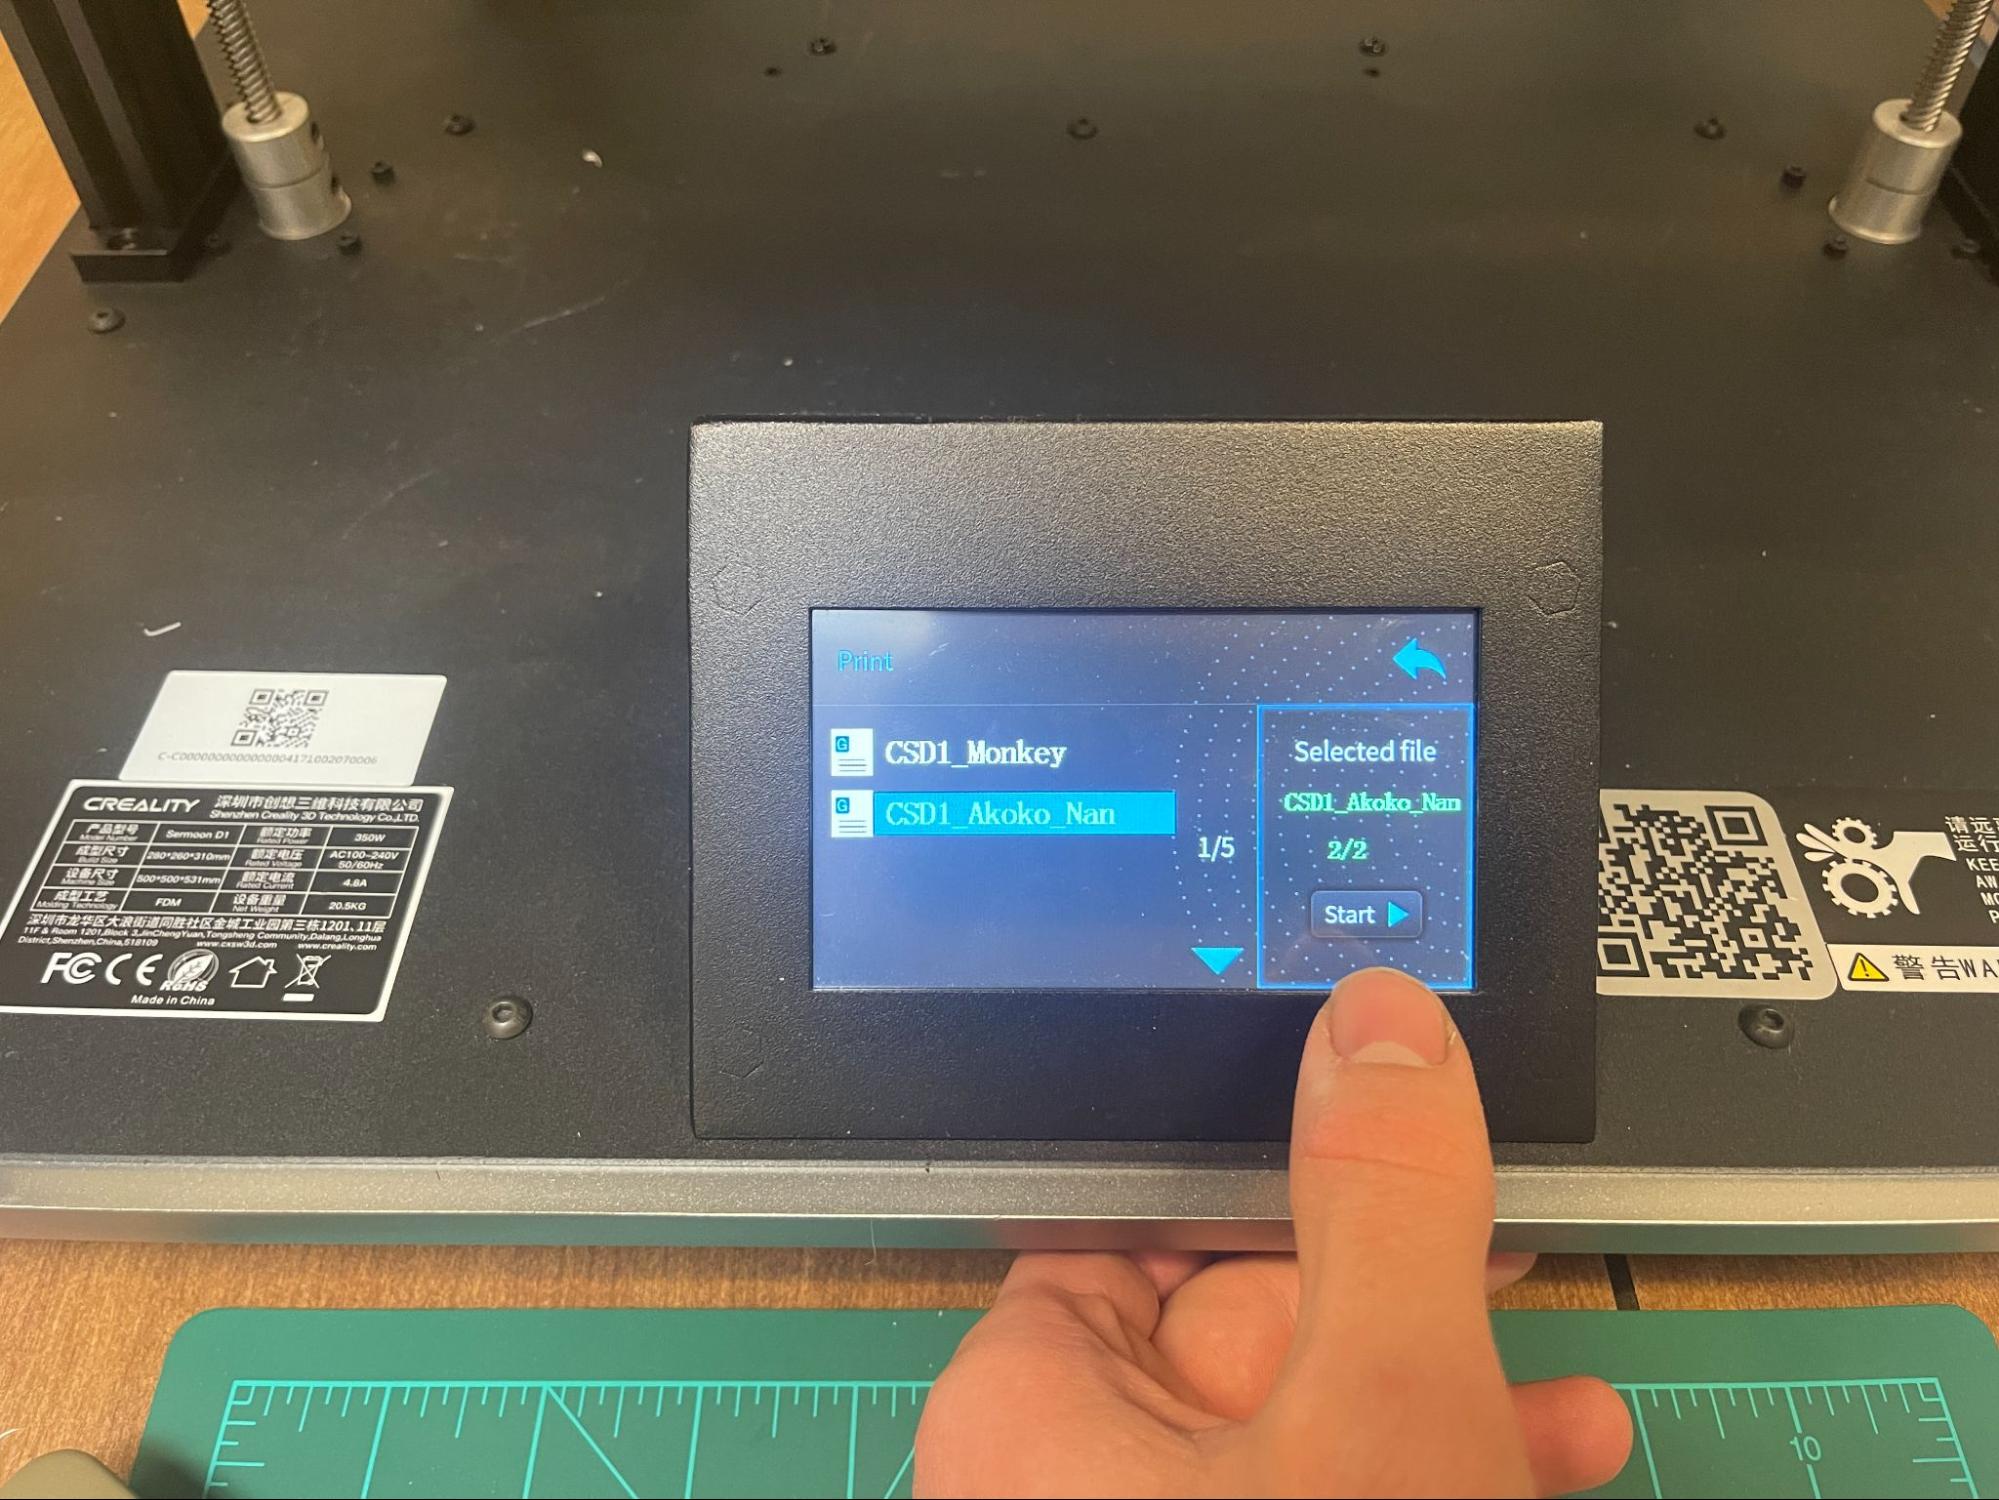
- Select “print” from the main menu screen
- Your exported file should be visible, select it, press start, and allow the print to begin!
-
Once print has finished and the machine has cooled, remove the print